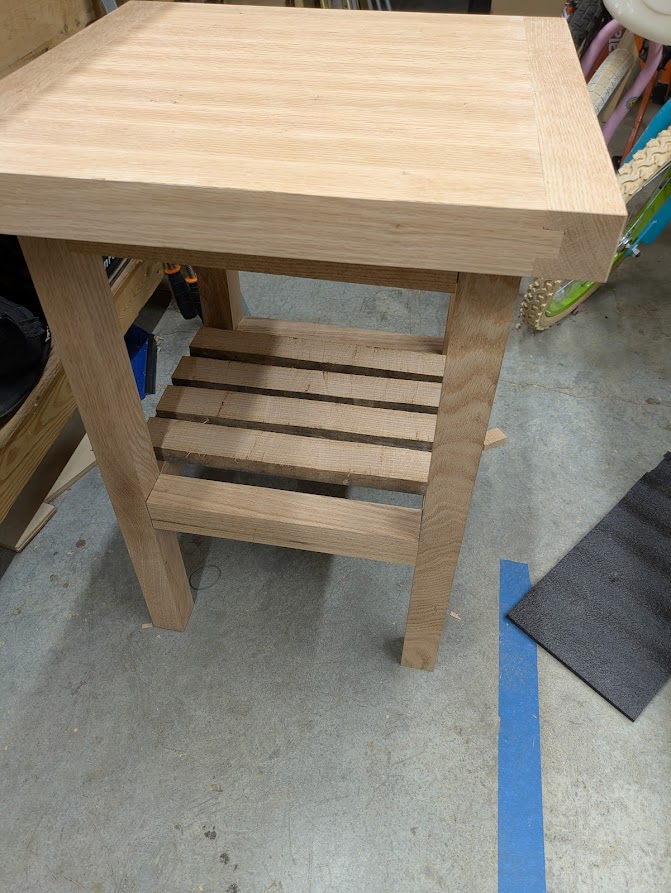
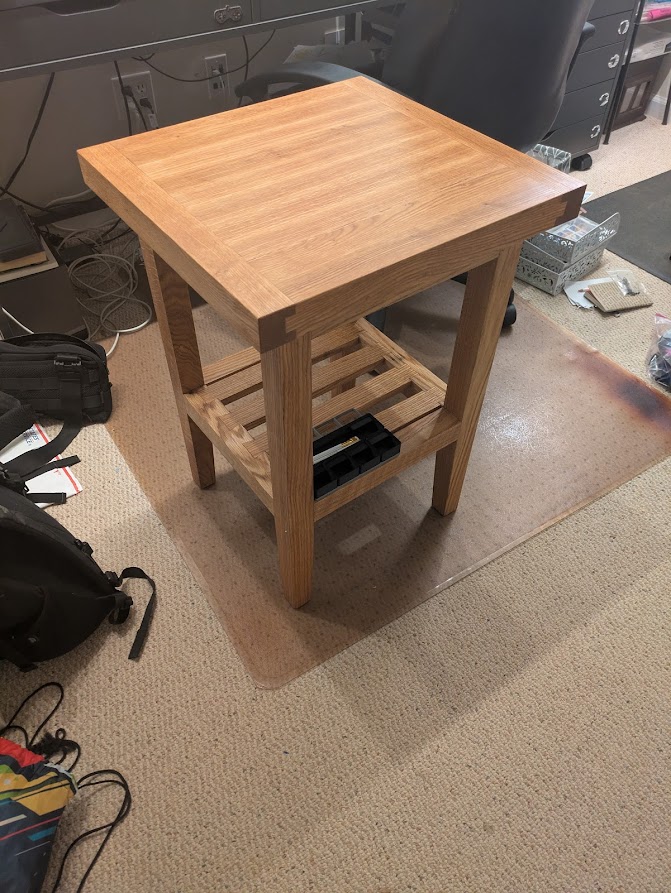
Scope creep and dovetails
When I started this project, the plan was simply to make a table for my 3D printer. But, inevitably, it ballooned into an increasingly complex and challenging build. What was once just a simple laminated top, turned into breadboard ends, and what was supposed to be a simple shelf turned into inlaid dovetails. I guess that’s what you call them, I don’t know exactly. All I know is it wasn’t part of the original design but once I had it in my head, I couldn’t not do it.
So, first thing’s first: I needed to rip my oak stock in half and lay them out. I just guessed a rough length that would fit and used my rip saw to go straight down the middle. Much like the other cuts I made, the specific dimensions weren’t as important as just making sure things were square.
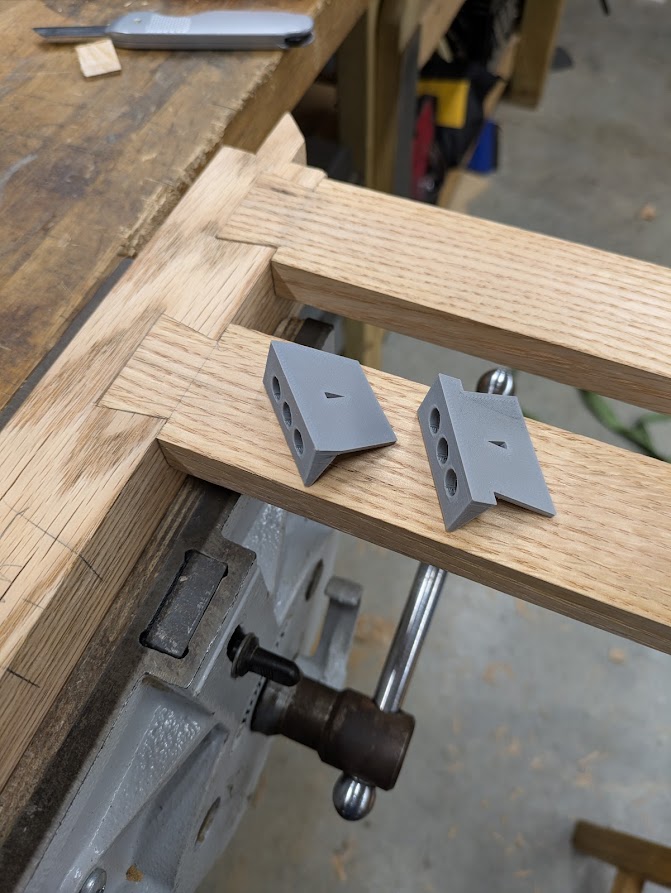
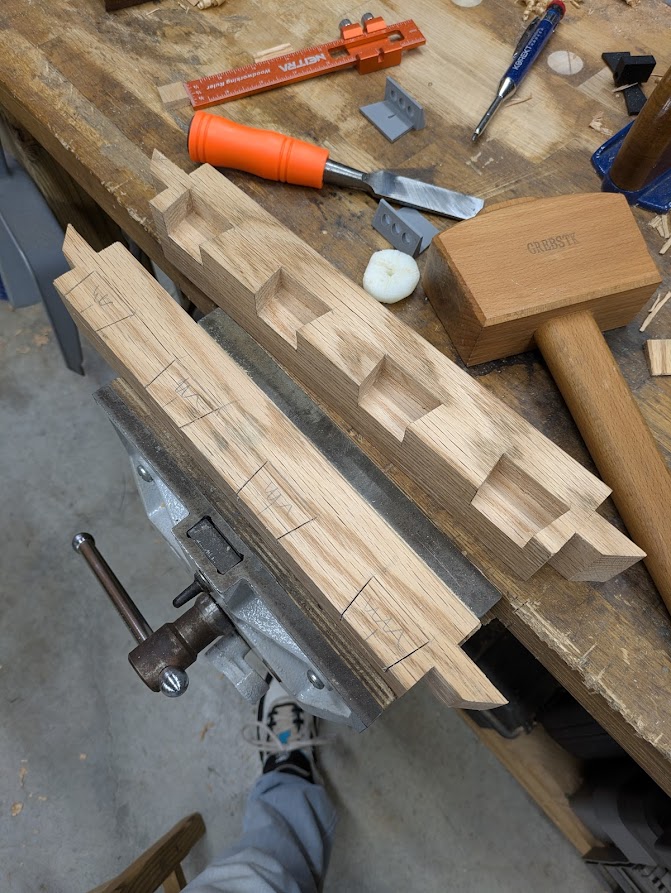
I decided to take advantage of my 3D printer during the build by making dovetail guides that were exactly the size I wanted instead of using a traditional guide and measuring layout lines. This took all of about 5 minutes to make in CAD and ended up being perfect for the task. Unfortunately I didn’t capture any photos of the chopping I was doing to cut out the dovetail sockets. Essentially you cut down to your mark and carefully chop out the middle with a chisel, much like the tenons.
I decided to cut the tails to fit the sockets only on one side before the glue up. In the end I think this was a mistake, but my rationale was to ensure I wasn’t oversized or undersized once the table was fully assembled and glued. Ultimately it made truing the slats up with the stretchers more difficult, so if I were to do this again, I would just clamp the table up instead.
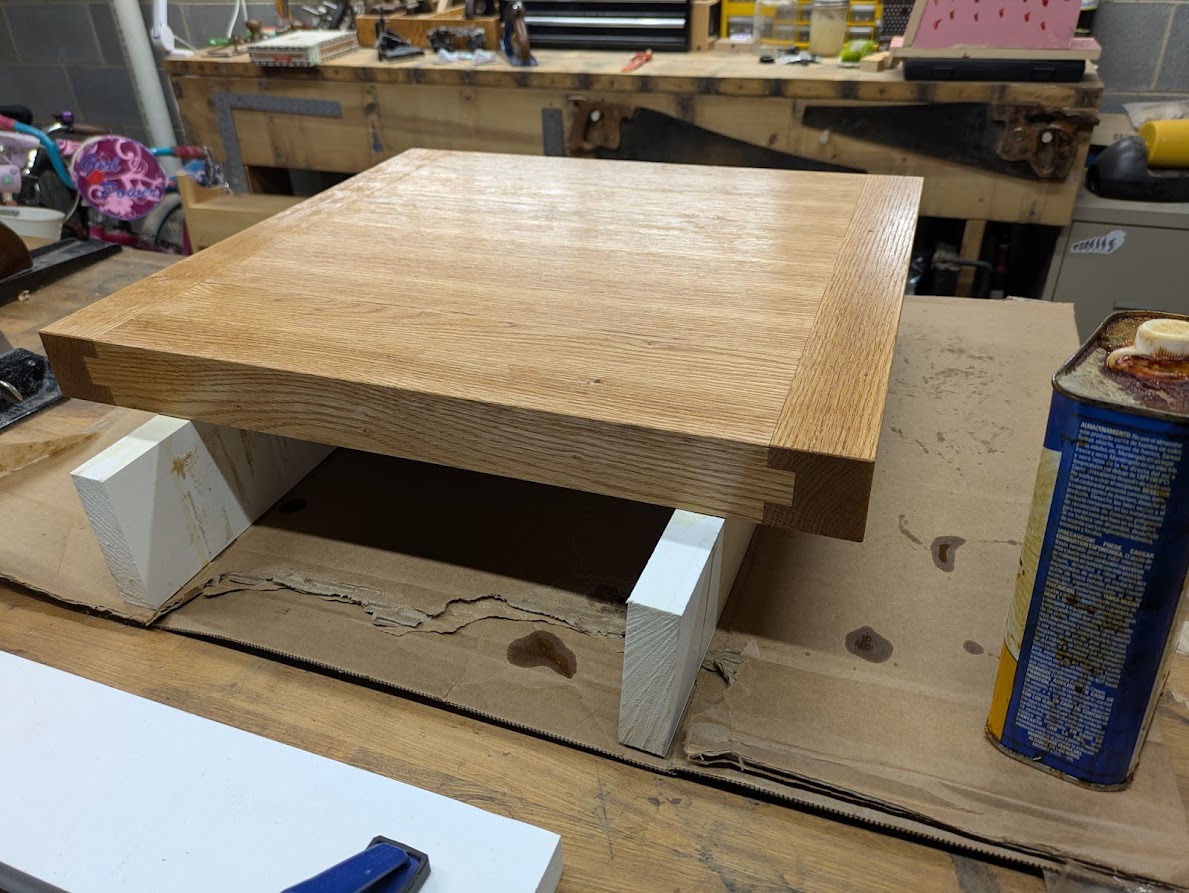
As I was working on the dovetails, I took a moment to finish the table with some boiled linseed oil. I knew I would want to start using it almost immediately after it dried, so getting a jump on the finish for the top was the best way to make sure I could do that. I used a combination of boiled linseed oil and a home made turpentine/beeswax/mineral oil top coat for this job. Mainly because I absolutley HATE doing any kind of finish work. It’s messy, annoying, and can easily ruin your whole project if you don’t do the prep work right. Boiled linseed oil and beeswax are way more idiot proof, at the expense of not being very durable. But it’s easy to just add more beeswax later so I really don’t see a reason for most cases where durability isn’t going to be a concern.
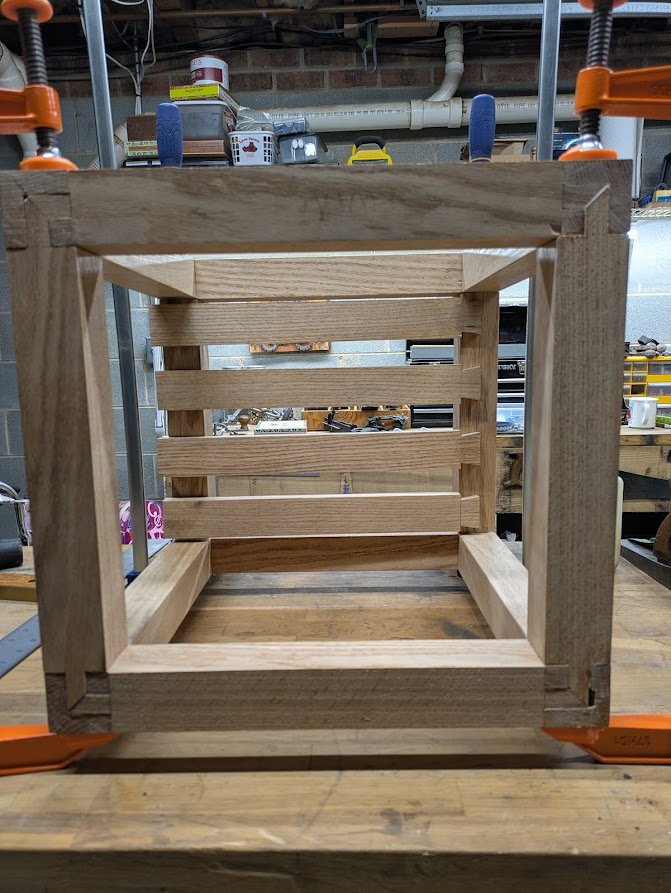
The Glue Up
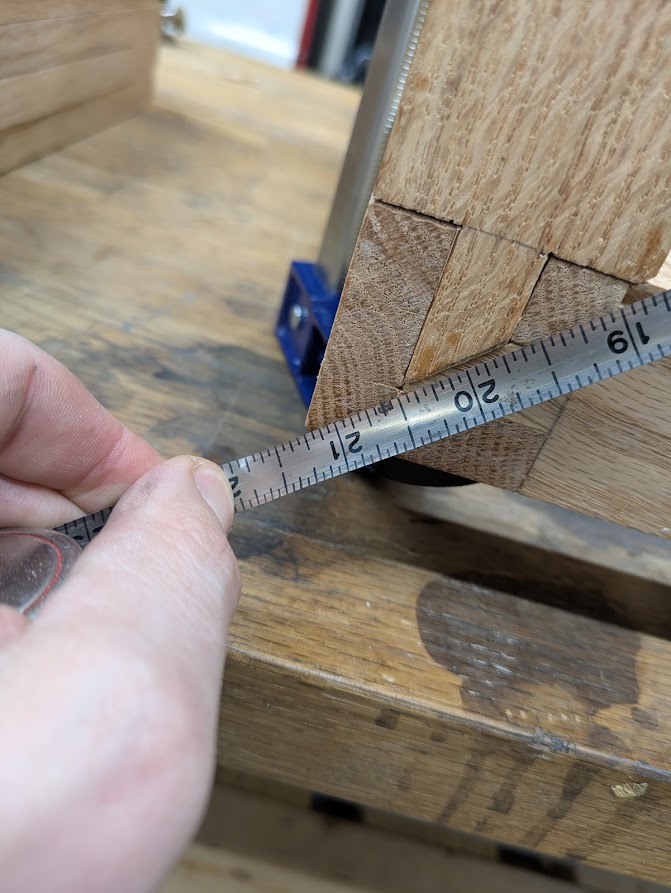
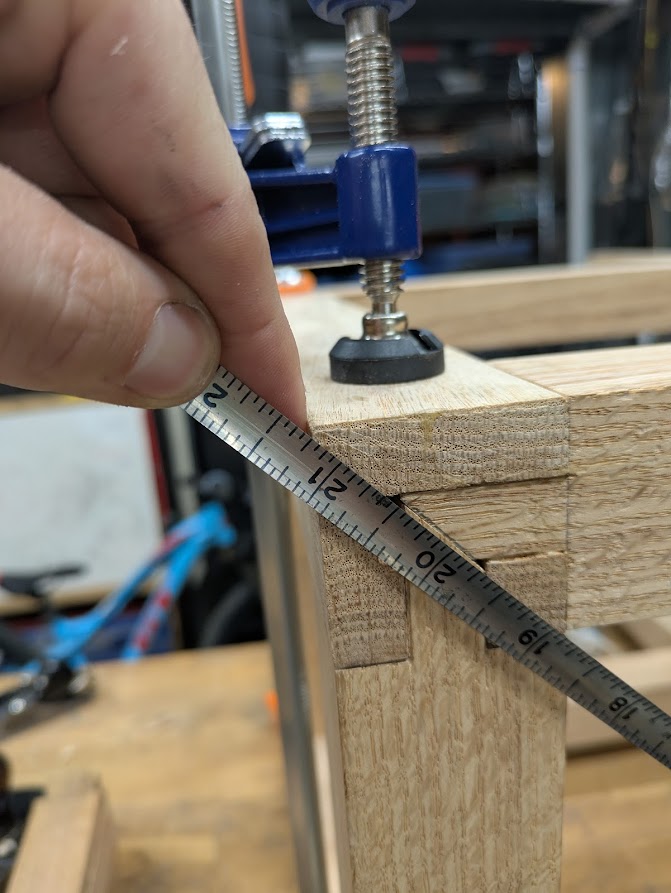
The only thing worse than applying a finish is the final glue up. I did my level best to make sure everything fit properly and was as square as I could get it before ruining my beautiful joinery with gobs of PVA glue. If you want to check for square, measure the diagonals. Even the slightest deviation will be readily apparent. I’m happy with 1/16" out of square on a diagonal. That’s beyond good enough and there’s no way you could see this without a measuring tape.
There was nothing left to do at this point but glue. With PVA glue you have around 30 minutes tops to get everything in place and clamped if you want the best possible bond, but with tight fitting joints, it can get hard to work with after as little as 5 minutes. I have everything laid out and ready to go so the moment I start clamping, I’m able to get it all done within a matter of a minute or two. I glued it in two stages, the front/back pieces, then as you can see in the image below, I glued the stretchers in place. Once it was all clamped up, I was ready to start cutting the other side of the slats.
Cutting the tails was really easy since the bottom face really didn’t need to be all that precise. I made them ever so slightly tapered so they would fit snugly in the socket, even if the socket and the tail wasn’t an exact match. I was happy with the results.
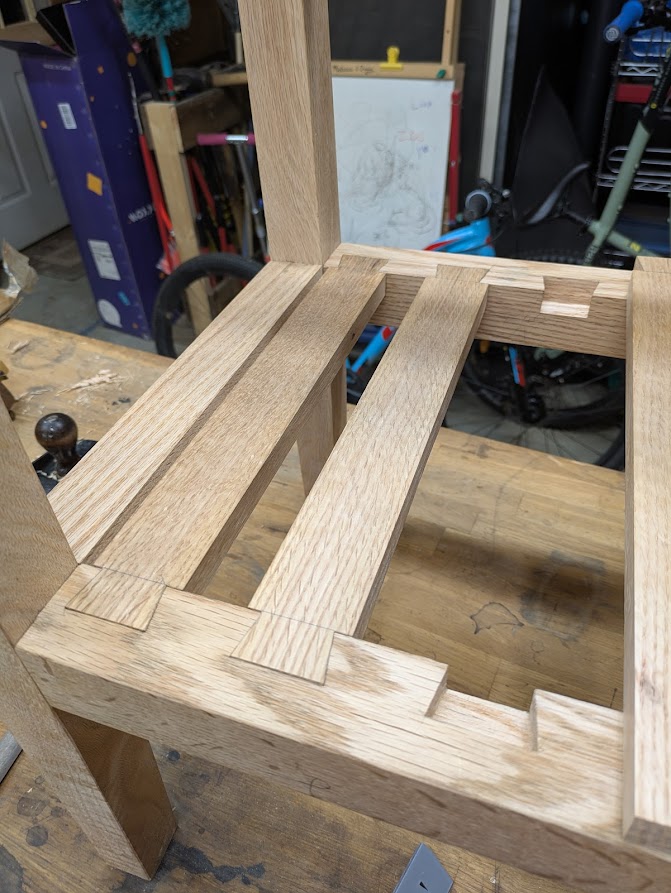
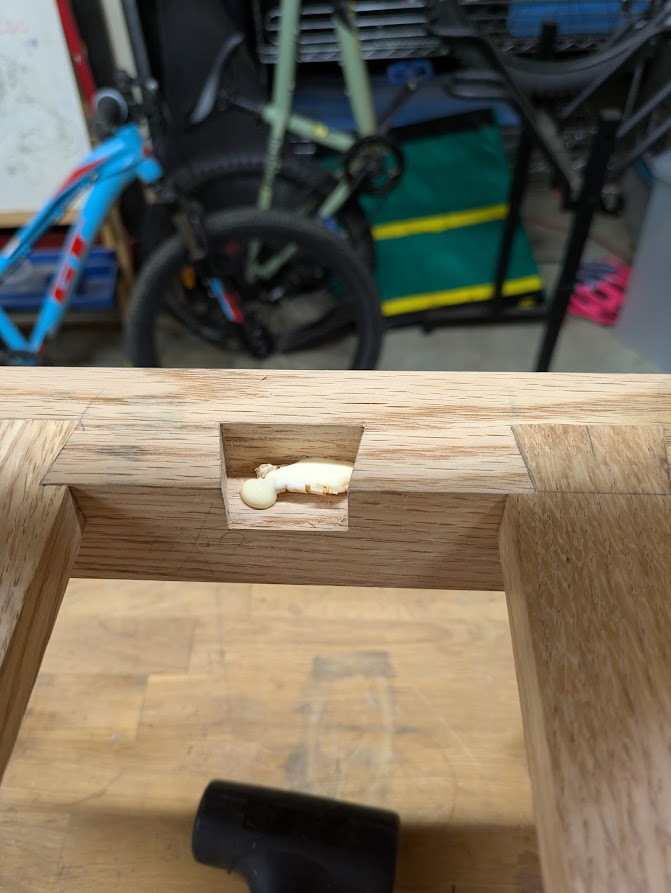
A few of my cuts were deeper than they needed to be. No worries, I just grabbed a couple loose shavings and dumped a big gob of glue in the socket. Problem solved, and unless you’re crawling around on the floor underneath, you’ll never know there’s a gap.
Finishing Touches
Once everything was glued and set, all that was left was to drench it in boiled linseed oil and coat it in beeswax. This part was actually not too bad. I knew it was going to look good after putting the same finish on the top, and the hard part was done now that the glue was dry.
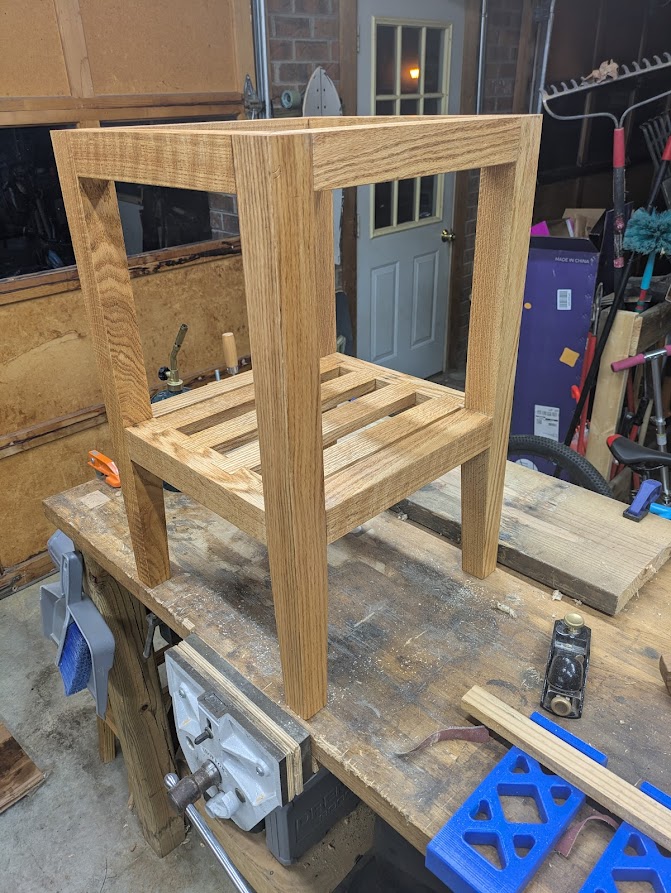
I attached the top with some wood screws and 3D printed brackets. It seemed appropriate for this project, plus you need to allow for some movement so you can’t just glue down the top or it will break free when the humidity rises in the summer. I still worry about the breadboard ends, but we’ll cross that bridge if I ever come to it.
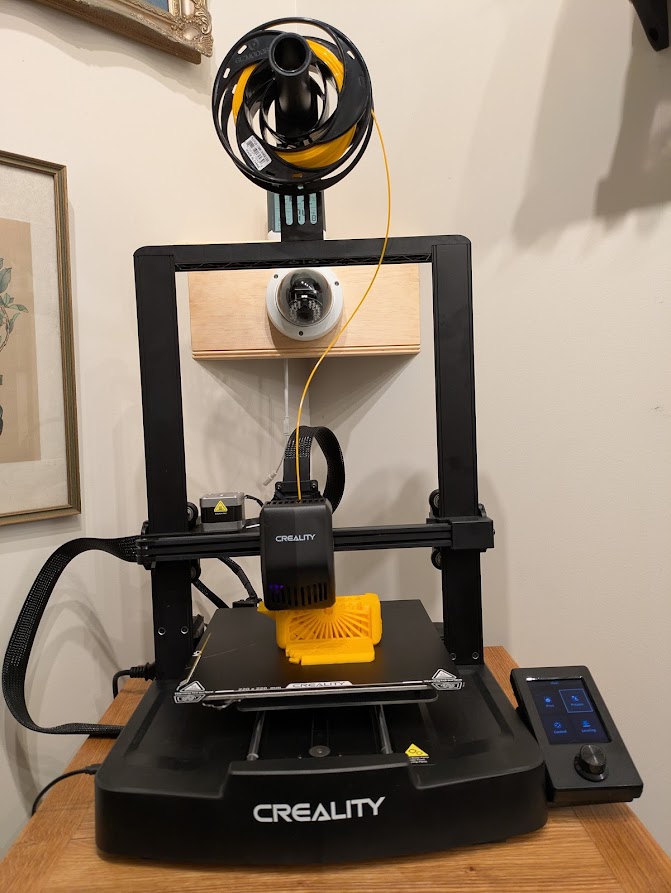
I had to rearrange a few things in the office. I also made a little shelf to hold an old dome type security camera so I could keep tabs on my printer remotely. I might do another post later about how all that was set up, so check back later if you want to see. In keeping with the theme, I 3D printed some shelving brackets for spare filament and the cleats to hold the security camera shelf to the wall.
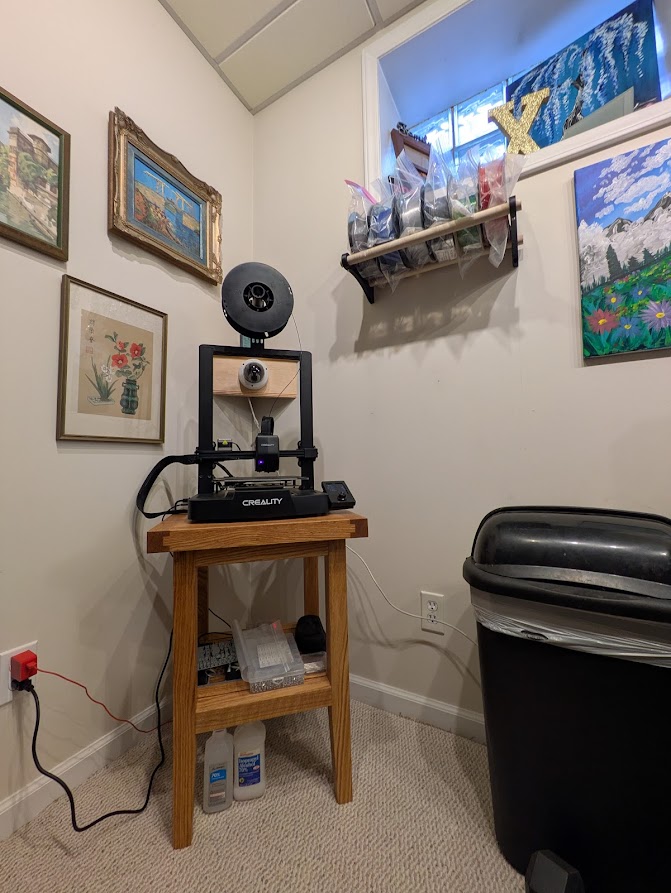
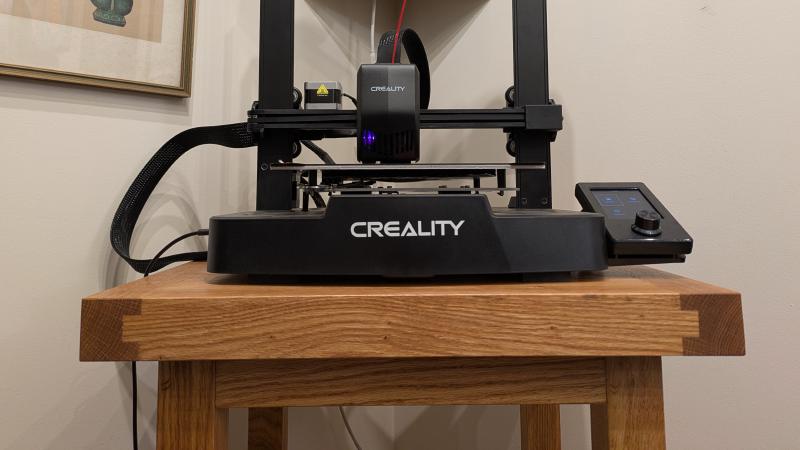
Now all that’s left is print a calibration toaster (yes, that’s a thing to make sure the printer is finely tuned and ready to rock. Spoiler, it wasn’t by the way. I ended up having to shim the gantry because it was a few degrees out of plumb. I’ll probably do a whole deep dive later on how I got sucked into the 3D printing cult and what you can do to join. Anyway, I hope you enjoyed this series, and thanks for reading along.